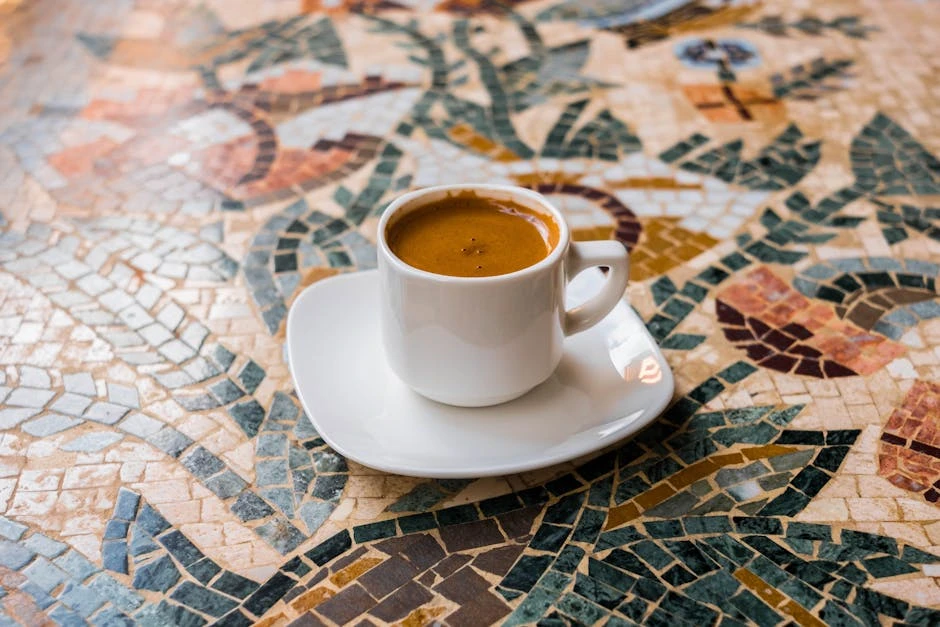
The Ultimate Guide to Perfect Pour-Over Coffee
There's something almost magical about it, don't you think? It's not just brewing—it's teasing out every hidden note in those beans. No machines, no shortcuts. Just you, hot water, and a little patience. And really? That's what makes it special.
Started in Germany, of all places, but now? It's everywhere. And for good reason. That first sip—clean, bright, electric. None of that dull heaviness other methods leave behind. But here's the catch: you've gotta get the little things right. Fresh beans (grind 'em right before, please), water just off the boil (shoot for 195–205°F), and—this one's crucial—a pour that takes its time.
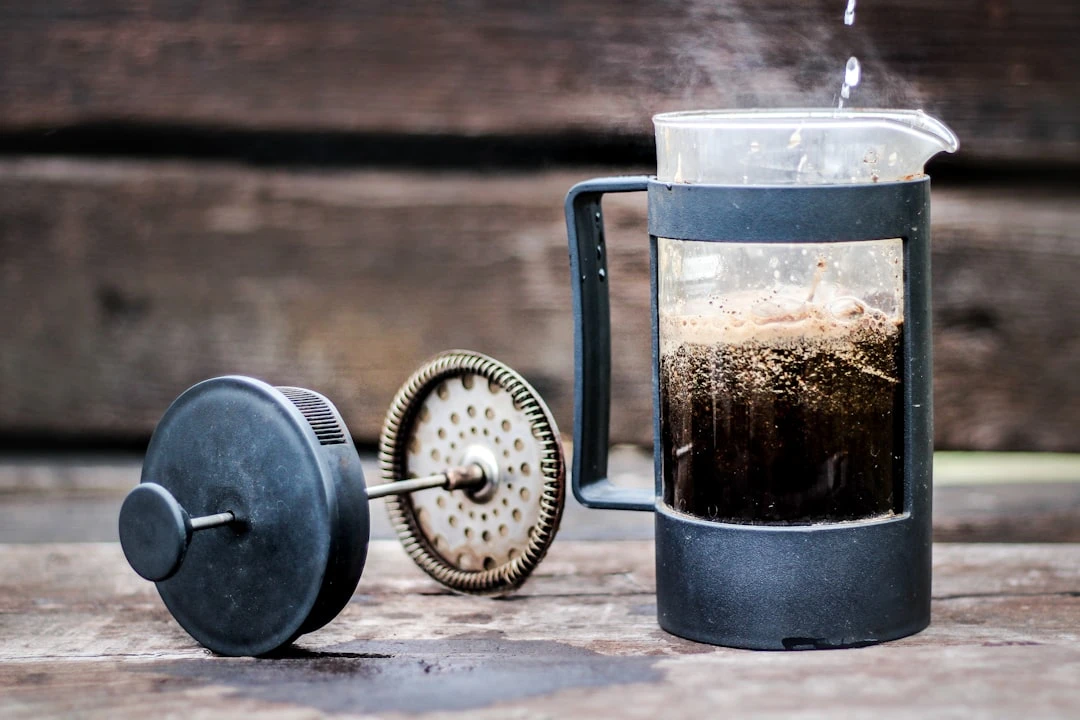
And the gear? The Hario V60 with those elegant ribs, the Chemex looking like lab equipment (in the coolest way), the Kalita Wave—steady as a metronome even if your hand isn't.
But what gets me is the clarity. Suddenly there's a flicker of citrus or a murmur of cocoa—flavors that just vanish in a regular drip. Sure, it takes practice, but that's the beauty of it. Your own quiet morning dance.
Whether you're just starting or your cupboard's packed with filters, mastering the pour-over? Absolutely worth it. This guide keeps it simple—no jargon, no stress—just how to make that perfect cup.
The Essentials for Amazing Pour-Over Coffee
Pour-over coffee doesn’t have to be complicated—but the right tools? They make all the difference. Here’s what really counts:
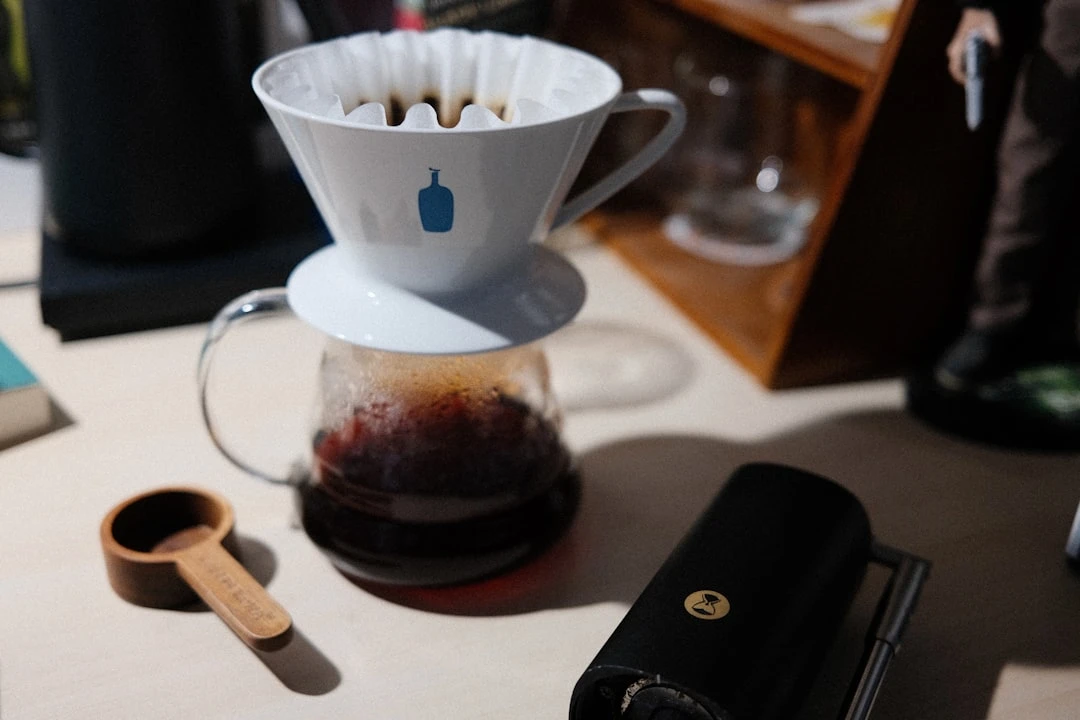
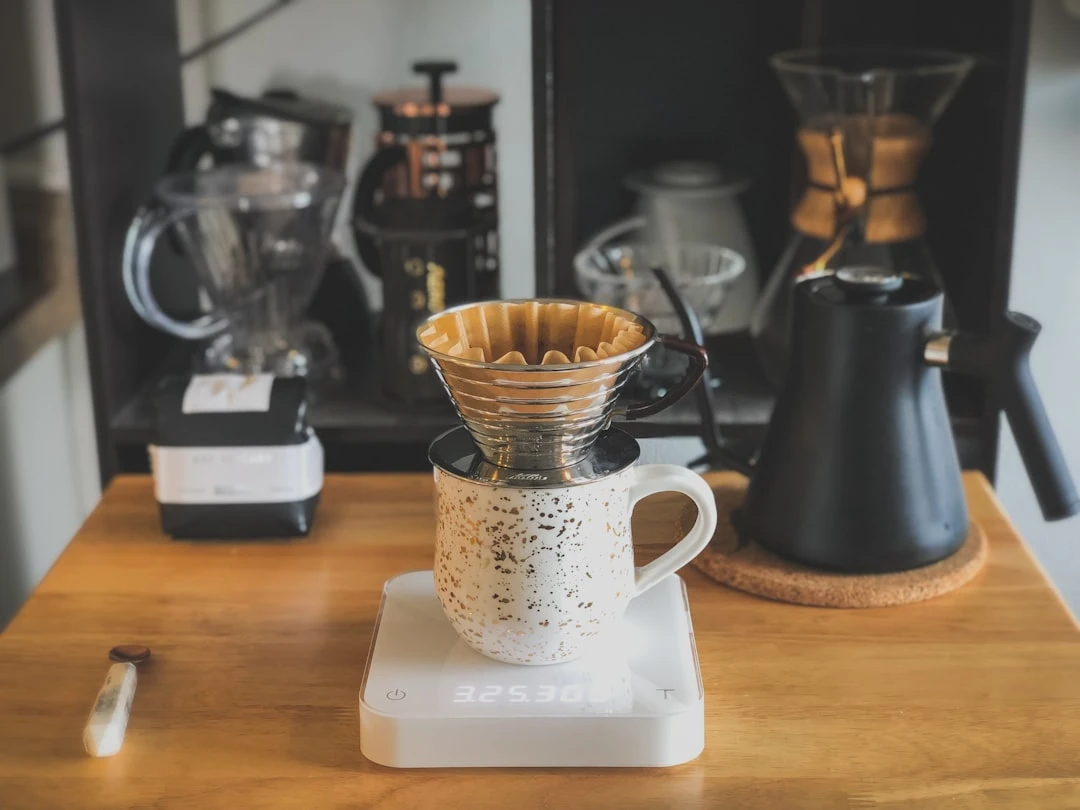
- The Brewer – Think of it as the canvas for your coffee. A V60 brings out bright, lively notes. The Kalita Wave? Smooth and steady. And the Chemex? Pure elegance. Go with whatever speaks to you.
- Filters – Paper keeps things crisp and clean. Metal lets more oils through for a richer cup—just double-check the size (trust me on this one).
- The Kettle – A gooseneck spout gives you precision. Even better if it heats water to around 200°F, so you’re not left guessing.
- Grinder – Skip the pre-ground stuff. A burr grinder gives you consistency—aim for something like coarse sand, not uneven chunks.
- Scale & Timer – Eyeballing it rarely works. Measure your beans and water (try a 1:16 ratio to start) and keep an eye on the clock (usually 2:30–4 minutes).
- Where It Ends Up – A carafe, your favorite mug—just make sure it can handle the heat.
Good gear helps, but don’t overthink it. Start simple, adjust as you go, and enjoy every sip along the way.
How to Choose the Perfect Coffee Beans for Pour-Over
Alright, let’s talk pour-over. You want that clean, bright cup—the kind that makes you pause after the first sip. But here’s the thing: it all comes down to the beans. Pour-over doesn’t hide anything, so picking the right ones? Yeah, that’s where the magic starts.
1. Freshness? Non-negotiable.
Stale coffee is like day-old bread—technically edible, but why bother? Look for beans roasted within the last few weeks, max. And skip anything with just an expiration date. A roast date? That’s your golden ticket.
2. Whole Beans, No Exceptions
Pre-ground is fine in a pinch, but it’s like using pre-chopped garlic. Convenient, sure—but you lose something. Grind fresh, and suddenly, everything’s alive again.
3. Roast Level—What’s Your Style?
- Light Roast: Bright, maybe a little wild. Think citrus, jasmine, or even peach. Perfect if you love tasting the bean’s roots.
- Medium Roast: The sweet spot. Smooth, balanced, with just enough depth to keep things interesting.
- Dark Roast: Bold, smoky, but… sometimes it’s like wearing boots to a ballet. Not impossible, but it’s gotta be the right moment.
4. Single-Origin or Blend—Pick Your Adventure
- Single-origin: A postcard in a cup. Kenyan? Expect blackcurrant vibes. Guatemalan? Maybe caramel, a hint of spice.
- Blends: The steady handshake. Roasters craft these for balance—sometimes tweaked just for pour-over’s delicate dance.
5. Spend a Little More (If You Can)
Specialty-grade beans—scoring 80 or higher—are where the flavors really pop. And if you care about the journey from farm to cup? Look for Fair Trade, Organic, or Direct Trade. Better for the growers, better for your mug.
Nail this, and your pour-over won’t just taste good—it’ll have layers. Subtle notes. A little drama, even. Trust me, once you start paying attention to the beans, there’s no going back.
Simple Pour-Over Coffee Guide
Alright, let’s talk pour-over. It doesn’t have to be complicated—just a few mindful steps to coax out the best from your beans. Here’s how to keep it simple and tasty.
- Heat the Water – Aim for 195–205°F (90–96°C). Too hot, and your coffee might lose its spark. (Been there—it’s a bummer.)
- Prep the Brewer – Drop a filter into your dripper—V60, Chemex, whatever—and rinse it with hot water. Gets rid of that papery taste. Toss the rinse water when you’re done.
- Grind the Beans – You’ll want a medium-fine grind, sorta like beach sand with a hint of sugar. And for a balanced cup, try 20g of coffee per 300ml of water.
- Let It Bloom – Add your grounds, then pour just enough water to wet them all. Wait 30 seconds—this little pause wakes up the coffee, and trust me, it’s worth it.
- Pour the Rest – Now, take your time. Pour the remaining water in gentle spirals, keeping it slow. If it starts clogging, ease up. Total brew time? Around 2:30 to 3:30 minutes.
- Enjoy – Once the drips slow to a trickle, remove the dripper. That’s it—coffee’s ready.
Quick Tip: Too bitter? Go coarser on the grind. Too sour? Maybe finer, or bump the heat a touch.
Might take a couple tries to nail it, but that’s part of the fun. Even the near-misses are worth sipping. Happy brewing!
Easy Pour-Over Mistakes (and How to Avoid Them)
So—you’re after a really good pour-over, right? It looks easy, until suddenly you’re sipping something bitter, watery, or just… disappointing. Oh, I’ve been there. Here’s where things usually go sideways (yep, me too), and how to steer clear:
- Guessing the Coffee Amount – Too much? Feels like a caffeine uppercut. Too little? Just sad, tepid water. Try 20 grams of coffee to 300 grams of water—that 1:15-ish ratio usually hits right.
- Grind Woes – Powder-fine? Bitter mud. Chunky like gravel? Sharp and sour. You want something between—think coarse sand, with a little grit to it.
- Water Avalanche – Pouring like it’s a race? The liquid just drills straight through, barely touching half the grounds. Ease up. Slow circles, gentle streams. (A gooseneck kettle? Lifesaver.)
- Skipping the Bloom – That first pause where the coffee swells and bubbles? That’s key. Miss it, and you’re left with trapped gas and uneven brews. Just wet the grounds—twice their weight in water—then wait. Let it breathe.
- Temperature Guesswork – Rolling boil? You’re scorching it. Lukewarm? Thin and lifeless. Stay between 195–205°F, or wait 30 seconds off the boil if you’re winging it.
- Filter Aftertaste – Paper filters sometimes taste, well, like stationery. A quick hot rinse fixes that—plus it preheats your dripper. Two birds.
- Timing Mishaps – Too quick? Underwhelming. Too long? Overpowering. Shoot for 2.5 to 4 minutes total. Fast? Grind finer. Slow? Go coarser.
Get these right, and you’re set. (And hey—if the first attempt’s a miss, no big deal. Even the experts started somewhere.)
Better Pour-Over Coffee: Tiny Fixes, Huge Taste Upgrades
Ever chase that perfect pour-over? It’s not about luck—just small, smart tweaks that pile up. Here’s how to shift your brew from decent to where’s this been all my life:
- Water’s Got to Be Just Right – Keep it between 195–205°F (90–96°C). Too hot? Sharp and angry. Too cold? Flat and lifeless. A gooseneck with a built-in thermometer? Total cheat code.
- Grind With Some Respect – That cheap blade grinder? Nah. A decent burr grinder gives you steady, even grit—like beach sand, not flour or river rocks. Too fine? Harsh. Too coarse? Thin and off.
- Pour in Waves – Dumping it all at once is a fast track to uneven brew. Try 50g every half-minute. Keeps the flow steady, avoids weird shortcuts in the grounds.
- Let It Bloom, Seriously – Fresh beans need to puff up. Use twice the water (30g for 15g coffee), wait 30–45 seconds, swirl it once. You’ll see—it makes all the difference.
- Ratios Are Guidelines – Start with 1:15 (coffee to water), then adjust. Lighter roast? Maybe 1:16. Darker? Stick close to 1:15. Experiment—your mouth’ll tell you what works.
- Filters Matter More Than You Think – Paper (Hario’s my pick) keeps it clean. Metal? Richer, but murkier. And rinse paper filters—unless you enjoy sipping on wet cardboard.
- Water’s the Silent Player – If your tap water tastes funky, your coffee will too. Filtered or spring water (around 150 ppm TDS) is the move. Hard water bullies flavor; soft water just… sits there.
Tweak, sip, adjust. The best coffee happens when you pay attention—and maybe obsess, just a little. You’re already halfway there.
Pour-Over Coffee FAQs (But Keep It Chill)
1. Wait—what exactly is pour-over coffee?
Picture this: you’re gently coaxing hot water over fresh coffee grounds, watching it drip slowly into your mug. No fancy machines, no confusing settings. Just you, a little patience, and a seriously delicious cup of coffee.
2. Alright, what’s the bare minimum I need to get started?
Just the essentials: a dripper (the V60’s a solid choice), filters, good coffee (obviously), and a gooseneck kettle—it makes life easier. A scale’s nice if you’re into precision, but honestly? You can wing it sometimes.
3. Do I really need to grind my own beans?
Pre-ground works in a hurry, but it’s kind of like reheating pizza—it gets the job done, but it’s not the same. Freshly ground? That’s where the real flavor kicks in. Your taste buds will notice the difference.
4. What’s the sweet spot for water temperature?
Shoot for 195–205°F (90–96°C)—not too hot, not too cold. Boiling water’s overkill (hello, bitterness), and anything cooler just won’t do the job right.
5. How much time are we talking here?
Usually between 2.5–4 minutes, depending on how fine your grind is. Fine grind? Slower drip. Coarse grind? Faster. Bonus: this is prime time for zoning out at your counter. Highly recommended.
6. Hmm, why does my coffee taste off?
Too bitter? Probably over-extracted—try a coarser grind or a quicker pour. Too sour? Might need a finer grind or a longer steep. It’s part technique, part intuition.
7. Is pour-over really that much better than my drip machine?
If you care about flavor that actually tastes like something? Yeah. Machines do the work for you, but pour-over lets you take control.
8. Cleanup seems like a hassle… is it?
Not really. Toss the grounds, give the dripper a quick rinse, and if you’re using a reusable filter, a quick wash. That’s it.
Get the hang of these, and you’ll be brewing coffee that might just outshine your favorite café. (No big deal.)
Related Articles
Espresso vs Americano: What’s the Difference and Which Should You Choose?
Read More →
How to Make Perfect Decaf Cold Brew at Home
Read More →