The Complete AeroPress Brewing Guide: Master Perfect Coffee Every Time in 2025
You know what's crazy? I've been brewing coffee for over fifteen years, and nothing - and I mean nothing - has changed my morning routine quite like the AeroPress. Here's a wild stat for you: over 60% of World Barista Champions use AeroPress as their go-to brewing method at home. That's not a coincidence!
I remember my first sip of properly brewed AeroPress coffee. It was like someone had been lying to me about what coffee could taste like my entire life. The clarity, the sweetness, the way it just sang in my mouth - I was hooked instantly.
But here's the thing nobody tells you when you first get an AeroPress: there's definitely a learning curve. I spent my first month making coffee that tasted like bitter disappointment or watery sadness. Sound familiar? Don't worry, we've all been there.
In this guide, I'm gonna walk you through everything I wish someone had told me when I started. We'll cover the basics, dive into advanced techniques, and I'll share some of the mistakes I made so you don't have to. By the end, you'll be brewing coffee that makes your friends ask "Where did you get this?" Trust me on this one.
What Makes AeroPress Special (And Why Technique Matters)
Let me tell you why I fell in love with this weird little plastic contraption. The AeroPress uses what's called immersion brewing combined with gentle pressure. Basically, your coffee grounds get to hang out in hot water like they're at a spa, then you push them through a filter with just enough pressure to extract all the good stuff.
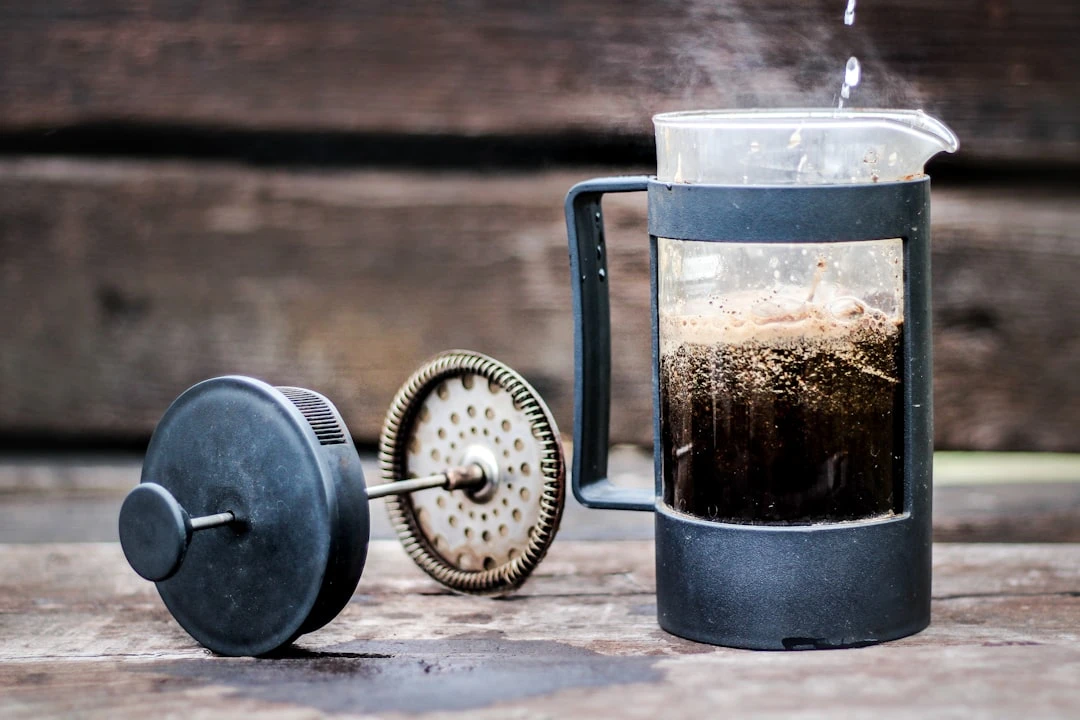
This isn't like your drip coffee maker that just dumps water over grounds and hopes for the best. It's not like a French press either, where you're basically making coffee soup and hoping you don't get grounds in your teeth. The AeroPress gives you complete control over every single variable.
Here's what makes it special: you get the full-bodied richness of immersion brewing with the clean finish of filtered coffee. It's like getting the best of both worlds without any of the drawbacks. Plus, it's practically impossible to over-extract your coffee, which means no more bitter morning surprises.
I learned this the hard way when I first started. I thought I could just eyeball everything like I did with my old coffee maker. Wrong! The AeroPress rewards precision, but it also forgives small mistakes. Once you nail the basic technique, you can start experimenting and really make it your own.
The beauty is in the details, and trust me, those details matter more than you think.
Essential AeroPress Equipment You Need
Alright, let's talk gear. I'm not gonna lie to you and say you need a million-dollar setup, but having the right tools makes all the difference. I started with the basics and slowly upgraded as I got more serious about my coffee game.
First up: the AeroPress itself. Pretty obvious, right? But make sure you get the original or the AeroPress Go if you travel a lot. I've tried some knockoffs, and they just don't work the same way. The seal isn't as tight, the filters don't fit right, and you end up frustrated.
You absolutely need a decent grinder. This was my biggest mistake early on - I was using pre-ground coffee from the grocery store and wondering why my coffee tasted flat. A burr grinder is ideal, but even a decent blade grinder is better than pre-ground. I started with a manual grinder that cost about $30, and it transformed my coffee overnight.
Get yourself a digital scale. I know, I know, another gadget. But measuring by weight instead of volume is the difference between consistent great coffee and playing coffee roulette every morning. You can find a decent one for under $20.
Water matters more than most people realize. If your tap water tastes funky, your coffee will too. I use filtered water, and it makes a noticeable difference. You don't need anything fancy - even a Brita filter works fine.
A thermometer helped me a lot in the beginning, though now I can pretty much eyeball the right temperature. But when you're starting out, taking the guesswork out of water temperature is huge.
The Perfect AeroPress Coffee-to-Water Ratio
This is where I messed up for the longest time. I thought coffee ratios were just suggestions, like speed limits. Turns out, they're actually pretty important for getting consistent results!
The sweet spot for most people is somewhere between 1:15 and 1:17. That means for every gram of coffee, you use 15-17 grams of water. I personally like 1:16 - it gives me a nice balance of strength and clarity. But here's the thing: your taste buds might be different than mine, and that's totally fine.
When I first started measuring, I was shocked at how little coffee I was actually using. I thought I was being generous, but I was probably closer to 1:20 or even weaker. No wonder my coffee tasted like brown water!
Here's my go-to recipe: 17 grams of coffee to 270 grams of water. That gives me about 8 ounces of finished coffee, which is perfect for my morning cup. If you want something stronger, try 18 grams of coffee. Want it milder? Drop down to 15 grams.
The key is consistency. Once you find a ratio you like, stick with it for a while. This lets you dial in other variables like grind size and brew time without changing too many things at once. I learned this lesson after weeks of randomly changing everything and getting wildly different results.
Don't stress too much about being exact to the gram. Close enough is good enough, especially when you're starting out.
Step-by-Step Standard AeroPress Method
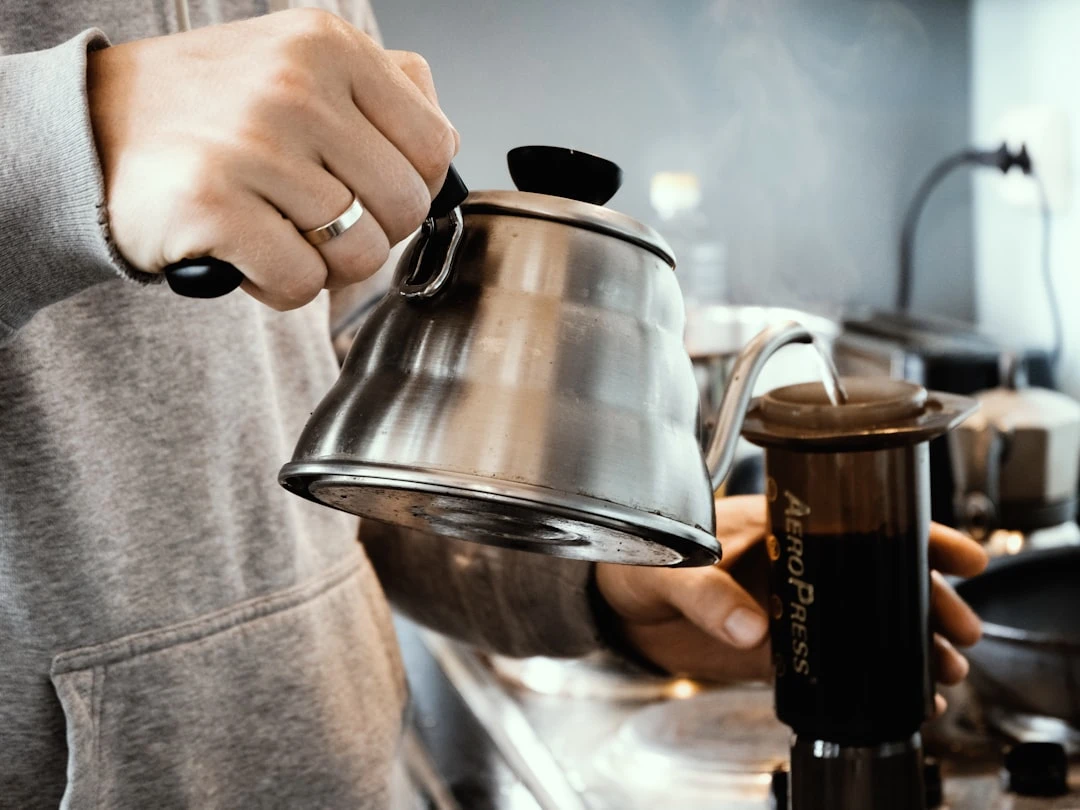
Okay, here's where the rubber meets the road. I'm gonna walk you through exactly how I brew my morning coffee, step by step. This is the standard method - we'll get to the fancy inverted method later.
First, heat your water to about 185°F. If you don't have a thermometer, bring it to a boil and let it sit for about 45 seconds. While that's happening, grind your coffee to a medium-fine consistency. Think table salt, not powder.
Put a paper filter in the cap and rinse it with hot water. This removes any papery taste and preheats your AeroPress. I forgot to do this for months and couldn't figure out why my coffee sometimes tasted weird. Don't be like me.
Place the AeroPress on your scale and add your ground coffee. I use 17 grams, but you do you. Make sure the coffee bed is level - I give it a gentle shake to even things out.
Start your timer and pour about 50 grams of water in a circular motion. This is called the bloom, and it lets the coffee release CO2. You'll see it puff up if your coffee is fresh. Let it sit for 30 seconds.
Now pour the rest of your water (I go up to 270 grams total) in a steady stream. Give it one gentle stir - I use the paddle that comes with the AeroPress. Don't go crazy with the stirring; just make sure everything's mixed.
At the 1:30 mark, attach the plunger and gently press down. It should take about 30 seconds to fully press. If it's too hard to press, your grind is too fine. If it goes down too easily, go finer next time.
That's it! You've got yourself a cup of AeroPress coffee.
Mastering the AeroPress Inverted Method
The inverted method was a game-changer for me, but I'll be honest - it took some practice to get comfortable with it. The first time I tried it, I was so nervous about flipping it that I barely pressed the plunger in. Coffee went everywhere. Learn from my mistakes!
Here's why people love the inverted method: you get total control over steeping time. With the standard method, coffee starts dripping through as soon as you add water. With inverted, nothing happens until you flip it and press.
Start by inserting the plunger just barely into the chamber - maybe half an inch. Flip the whole thing upside down so the plunger is on the bottom. It feels weird at first, but the seal holds everything in place.
Add your coffee (same 17 grams I always use) and pour your water. I like to do a 30-second bloom here too, then add the rest. Since gravity isn't pulling the water through, you can let it steep as long as you want. I usually go for 2-3 minutes total.
Here's the tricky part: wet your filter, put it in the cap, and screw it on tight. Then flip the whole thing onto your cup in one smooth motion. It's scarier than it sounds, and yes, I've had some spectacular failures here.
Once it's flipped, press down just like the standard method. The coffee you get is usually a bit more full-bodied since it had more contact time with the water.
Pro tip: practice the flip with just water a few times before you try it with actual coffee. Trust me on this one.
Water Temperature and Its Impact on Flavor
Temperature is one of those things I completely ignored when I started, and boy did I pay for it. Too hot, and you get bitter, over-extracted coffee. Too cool, and you end up with sour, under-extracted disappointment.
I've found that 185°F is my sweet spot for most coffees. It's hot enough to extract all the good flavors but not so hot that it pulls out the harsh stuff. Light roasts can handle slightly hotter water - maybe 195°F - because they're denser and harder to extract from.
Dark roasts are more delicate. They're already pretty broken down from the roasting process, so they don't need as much heat. I usually stick around 175-180°F for dark roasts. Any hotter and they start tasting burnt and bitter.
Here's something I learned the hard way: water temperature drops fast. By the time you pour it into your AeroPress, it's probably 10-15 degrees cooler than when you measured it. I account for this by starting a bit hotter than my target temperature.
If you don't have a thermometer, here's a trick I use: bring water to a full boil, then let it sit. For light roasts, wait about 30 seconds. For medium roasts, wait 45 seconds. For dark roasts, wait a full minute. It's not perfect, but it's pretty close.
The biggest sign that your water is too hot? Your coffee tastes harsh and bitter even though everything else seems right. Too cool? Your coffee will taste sour and weak, like it's missing something.
Grind Size: Finding Your Sweet Spot
Grind size was probably the hardest thing for me to wrap my head around when I started. I thought coffee was just coffee, but the size of those little particles makes a huge difference in how your coffee tastes.
For AeroPress, I aim for something between table salt and fine sand. It's finer than what you'd use for a French press but coarser than espresso. The technical term is "medium-fine," but that doesn't help much when you're staring at your grinder settings.
Here's how I figured out my grind size: I started with what looked about right and paid attention to how long it took to press the coffee. If it was really hard to press - like, I had to put serious muscle into it - the grind was too fine. If the plunger went down super easily, like there was no resistance at all, I needed to go finer.
Different grinders produce different results even on the same setting. My old blade grinder produced a lot of fine particles mixed with bigger chunks. It worked, but it wasn't ideal. When I upgraded to a burr grinder, even a cheap one, the consistency improved dramatically.
Fresh grinding makes a huge difference too. I used to grind a week's worth of coffee at once to save time. Big mistake! Coffee starts losing flavor within minutes of being ground. Now I grind right before brewing, and the difference is night and day.
If your coffee tastes sour or weak, try going finer. If it's bitter or harsh, try going coarser. Small adjustments make big differences, so don't change too much at once.
Timing Your AeroPress Brew
Timing is everything with AeroPress, but it's also pretty forgiving once you get the hang of it. The total brew time - from when water hits coffee to when you finish pressing - usually runs about 2-3 minutes for me.
I break it down like this: 30 seconds for the bloom, 30 seconds to add the rest of the water and give it a stir, then 1-1.5 minutes of steeping before I press. The actual pressing takes another 30 seconds or so. That puts me right around 2.5 minutes total.
But here's the thing I learned: these aren't hard rules. Some coffees taste better with longer steeping times, others prefer shorter. Light roasts often benefit from a bit more time to fully extract, while dark roasts can get bitter if you steep too long.
The bloom is pretty important, especially with fresh coffee. You'll see the grounds puff up and release gas - that's CO2 leaving the coffee. If you skip this step, your extraction won't be as even. I used to think it was just coffee snob nonsense, but it really does make a difference.
For the pressing part, slow and steady wins the race. I aim for about 30 seconds of gentle, consistent pressure. If you press too fast, you might force water around the filter instead of through it. Too slow, and you might over-extract.
Keep track of your timing at first. Once you get comfortable, you'll develop a feel for it and won't need to watch the clock as closely.
Troubleshooting Common AeroPress Problems
Let me save you some frustration by sharing the problems I ran into and how I fixed them. These are the issues that had me questioning my life choices at 6 AM.
Bitter coffee: This was my biggest problem early on. Usually it means your water is too hot, your grind is too fine, or you're steeping too long. I fixed mine by dropping my water temperature and grinding a bit coarser. If you're getting bitter notes even with good coffee, try reducing your brew time too.
Sour or weak coffee: The opposite problem - your extraction is too low. Your grind might be too coarse, water too cool, or brew time too short. I had this issue when I was being too gentle with everything. Don't be afraid to use proper pressure when pressing.
Hard to press: Your grind is probably too fine, or you're using too much coffee. I used to pack way too much coffee in there thinking more was better. The AeroPress works best with the right amount of coffee at the right grind size.
Coffee dripping through too fast: In the standard method, if coffee is flowing through really quickly, your grind is too coarse. In the inverted method, check that your plunger seal is tight enough.
Inconsistent results: This was driving me crazy until I realized I wasn't measuring anything consistently. Get a scale, use it every time, and keep notes on what works. I have a little notebook where I track my favorite ratios and grind settings.
Weak extraction even with fine grind: Your water might not be hot enough, or your coffee might be old. Fresh coffee makes a huge difference - if your beans are more than a month old, they might just be tired.
Advanced AeroPress Techniques for Better Coffee
Once you've mastered the basics, there's a whole world of advanced techniques to explore. These are some of the methods I've picked up from competition brewers and coffee geeks over the years.
The bypass method: This is where you brew a strong concentrate and then dilute it with hot water. I use about 25 grams of coffee to 200 grams of water, then add another 100 grams of hot water to the finished coffee. It gives you more control over strength and can highlight different flavor notes.
Multiple pours: Instead of dumping all your water in at once, try pouring it in 2-3 stages. Pour some, wait 30 seconds, pour more, wait, then finish. It creates more turbulence and can improve extraction. I learned this from watching World AeroPress Championship videos.
The James Hoffmann method: This guy's technique involves a really fine grind, gentle pressing, and dilution at the end. It's more work, but the clarity you get is incredible. Look it up on YouTube if you want to see it in action.
Extended steeping: For light roasts, try steeping for 4-5 minutes instead of 2-3. The longer contact time helps extract more of the subtle flavors that light roasts are known for. Just be ready to grind coarser to avoid over-extraction.
Temperature stepping: Start with cooler water (maybe 175°F) and gradually add hotter water during the brew. It's a pain to execute, but some people swear it gives more complex flavors.
The key with all these advanced techniques is to master the basics first. I wasted a lot of time trying fancy methods when I hadn't even figured out consistent grinding and measuring. Get comfortable with the standard method, then start experimenting.
Conclusion
Look, brewing great AeroPress coffee isn't rocket science, but it does require some attention to detail. The beauty of this little device is that once you nail the basics - proper ratios, grind size, water temperature, and timing - you can consistently make coffee that rivals what you'd get at a good coffee shop.
Remember, every coffee is different, and your taste preferences are unique. Don't be afraid to adjust these guidelines to match what you enjoy. Maybe you like your coffee a bit stronger, or maybe you prefer it more delicate. That's totally fine!
The most important thing is to be consistent with your measurements and technique while you're learning. Once you've got a baseline that works, then you can start experimenting with different variables one at a time.
I've been brewing with my AeroPress for years now, and I'm still discovering new things about it. The learning never stops, and honestly, that's part of the fun. Every morning is a chance to make an even better cup of coffee than yesterday.
Related Articles
Espresso vs Americano: What’s the Difference and Which Should You Choose?
Read More →
How to Make Perfect Decaf Cold Brew at Home
Read More →