How to Make a Mason Jar Cold Brew Maker in 2025: DIY Guide for Perfect Coffee
Did you know that cold brew coffee has 67% less acid than regular hot coffee? That's just one reason why I've been obsessed with perfecting my mason jar cold brew maker setup for the past three years!
What started as a way to save money on my daily Starbucks habit turned into a passion project that's saved me over $1,200 annually. The best part? You can create an amazing mason jar cold brew maker using items you probably already have at home.
In this guide, I'll walk you through exactly how to build your own mason jar cold brew maker, share the mistakes I made so you don't have to, and give you the exact ratios and techniques that consistently produce smooth, rich cold brew that rivals any coffee shop.
What Makes a Great Mason Jar Cold Brew Maker
I'll be honest – my first attempt at a mason jar cold brew system was a disaster. I thought I could just throw some ground coffee in a jar with water and call it a day. Boy, was I wrong!
After three years of experimenting, I've learned that a great mason jar cold brew maker needs five essential components. First, you need proper filtration to separate the grounds from your finished brew. Second, the container size matters more than you'd think – I've found that 32oz wide-mouth mason jars are the sweet spot for most people.
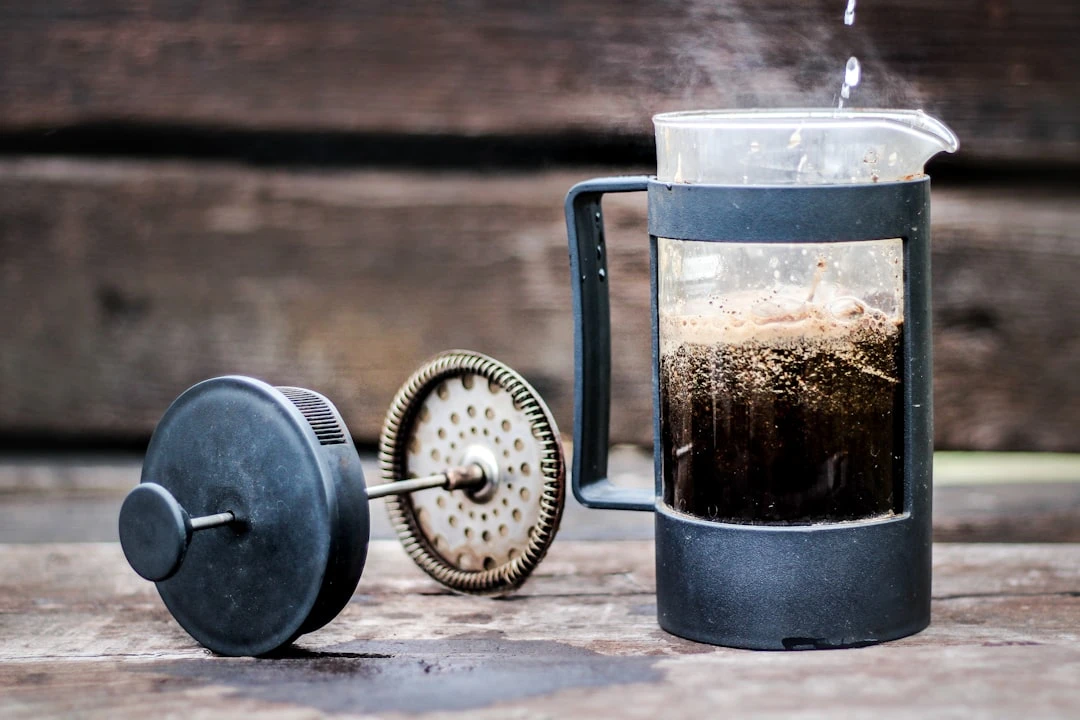
The third component is temperature control, which is where glass really shines. Unlike plastic containers, glass jars don't absorb flavors or odors, and they maintain consistent temperatures during the steeping process. I learned this the hard way when my plastic pitcher made everything taste like last week's leftover soup!
Size considerations become crucial when you're deciding between jar options. I started with 16oz jars thinking smaller would be easier, but I was constantly making new batches. The 32oz size gives you enough concentrate for about 4-6 servings, while 64oz jars work great if you're brewing for a family or want to batch prep for the week.
Glass beats plastic every single time for flavor preservation. Plastic can leach chemicals and absorb coffee oils, which creates off-flavors that'll ruin your cold brew experience. Trust me, invest in quality glass mason jars – your taste buds will thank you.
Materials You Need to Build Your Mason Jar Cold Brew Maker
Here's where I wish someone had given me a proper shopping list from the start. I probably made five trips to different stores my first week because I kept forgetting essential items or buying the wrong sizes.
Your complete supply list should include: one 32oz wide-mouth mason jar (about $3), fine mesh strainer or cheesecloth ($2-4), coffee filters ($3), measuring cup ($2 if you don't have one), and optionally, a second mason jar for storage ($3). Total investment? Less than $15.
The wide-mouth design is crucial – don't cheap out and get regular mouth jars. I made this mistake initially and trying to get coffee grounds out of a narrow opening is like trying to get peanut butter out of a straw. Not fun.
You can find mason jars at literally any grocery store, Target, Walmart, or hardware store. I prefer Ball or Kerr brands because they're built to last. For the mesh strainer, kitchen stores work great, but I've found equally good options at dollar stores.
Tool requirements are minimal – you'll need a stirring spoon and measuring cups. That's it! Some people get fancy with specialized lids or fancy filters, but honestly, the basic setup works perfectly fine.
Quality considerations matter most for the jar itself. Spend the extra dollar to get a name-brand mason jar rather than generic ones. I've had cheaper jars crack from temperature changes, and nobody wants glass shards in their morning coffee routine.
Step-by-Step DIY Mason Jar Cold Brew Maker Instructions
Alright, here's where the rubber meets the road. I'm gonna walk you through exactly how I build my mason jar cold brew maker, including the mistakes I made so you don't repeat them.
First, start with a clean 32oz wide-mouth mason jar. I mean really clean – wash it with soap and hot water, then rinse thoroughly. Any soap residue will make your cold brew taste like dish detergent (learned that one the hard way).
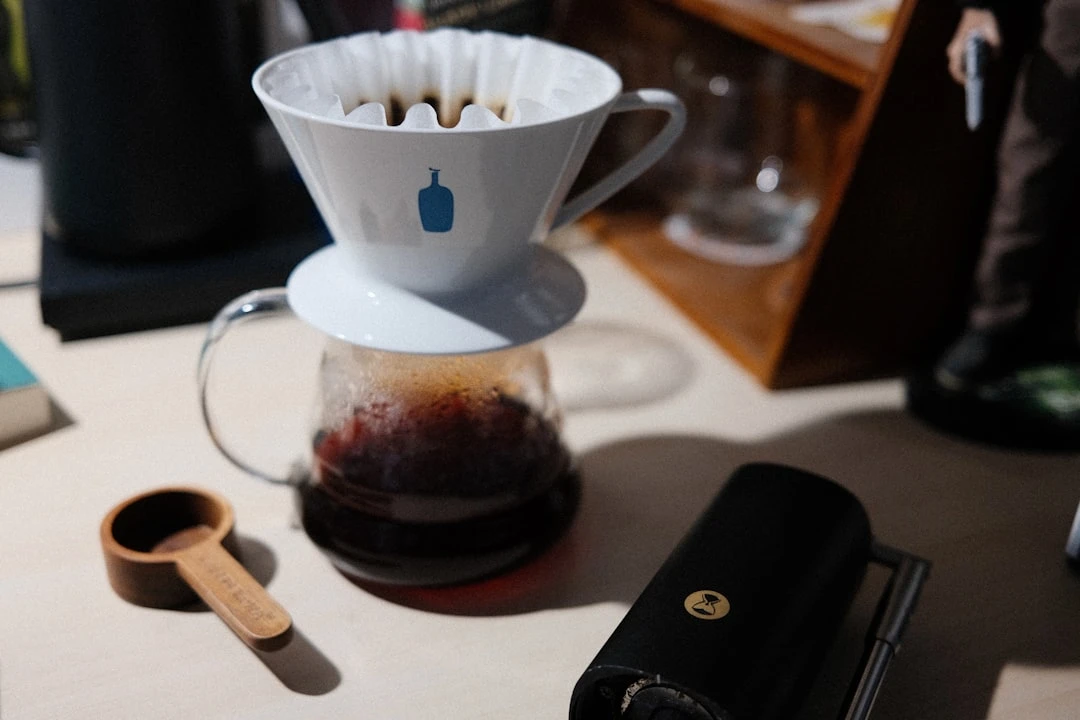
For the filtration system, I layer two coffee filters inside a fine mesh strainer. The double-filter setup prevents any grounds from sneaking through, which was my biggest frustration in early attempts. Place this assembly on top of your second jar or a large measuring cup.
Here's a pro tip I wish I'd known earlier: pre-wet your filters with cold water before adding your coffee concentrate. This prevents the filters from absorbing your precious cold brew and gives you cleaner filtration.
The key to success is creating a system that's easy to disassemble and clean. I've seen people try to permanently modify mason jar lids, but that just makes cleaning a nightmare. Keep it simple and removable.
Safety-wise, be careful when handling wet coffee filters – they tear easily when they're saturated. I usually support them from underneath while pouring to prevent disasters.
Testing your completed system is simple: fill it with water, let it sit for an hour, then check for any leaks around the lid or filtering setup. Better to catch problems now than after you've made a full batch of cold brew.
Best Coffee Bean Selection for Your Mason Jar System
This is where I geek out because coffee bean selection makes or breaks your cold brew experience. I spent way too much money on expensive beans before realizing that cold brew actually works better with certain types.
Coarse grind is absolutely non-negotiable. I cannot stress this enough! Fine grinds will slip through your filter and create muddy, over-extracted coffee that tastes bitter and unpleasant. Think sea salt or breadcrumb consistency, not powder.
For single-origin versus blends, I've found that blends actually work better for cold brew. Single-origins can be too one-dimensional, while a good blend provides complexity and balance. My go-to is a Central/South American blend with chocolate and nutty notes.
Roast level preferences lean toward medium to medium-dark roasts. Light roasts don't extract well in cold water and can taste sour or weak. Dark roasts can become overpowering and bitter. Medium roasts hit that sweet spot of full flavor without overwhelming bitterness.
Coffee-to-water ratios vary by jar size, but here's what I use: For a 32oz jar, I use 1 cup of coarse ground coffee to 4 cups of cold water. This creates a concentrate that you'll dilute later. For ready-to-drink strength, use ¾ cup coffee to the same amount of water.
Storage for bean freshness is crucial – buy whole beans and grind them yourself right before brewing. Pre-ground coffee loses flavor quickly and doesn't extract as well. I keep my beans in an airtight container away from light and heat.
Brewing Process: Using Your Mason Jar Cold Brew Maker
Now we get to the fun part – actually making cold brew! This process requires patience, but the results are so worth it.
Water quality matters more than most people realize. I use filtered water because tap water in my area has too much chlorine, which interferes with extraction. If your tap water tastes good to drink, it'll work fine for cold brew.
For water temperature, use room temperature or slightly cool water. Hot water will over-extract and create bitter flavors, while ice-cold water extracts too slowly. I usually let my filtered water sit out for about 30 minutes before brewing.
Steeping time is where most people mess up. I recommend 18-24 hours for full extraction. Shorter than 18 hours and you'll get weak, underdeveloped flavors. Longer than 24 hours and you risk over-extraction and bitterness.
The room temperature versus refrigerator debate is real! I've tested both extensively. Room temperature brewing (68-72°F) extracts faster and more completely, but requires careful timing. Refrigerator brewing is more forgiving but takes longer and may under-extract.
Agitation techniques during brewing help ensure even extraction. I gently stir the mixture once every 6-8 hours during steeping. Don't go crazy with stirring – just a few gentle rotations to make sure all grounds are properly saturated.
Signs your cold brew is ready include a rich, dark color and smooth aroma without harsh or acidic notes. The liquid should look deep brown, almost like chocolate milk before you filter it.
Filtering and Straining Your Cold Brew
Filtering is where patience pays off, and rushing this step has ruined more batches than I care to admit. I learned to embrace the slow filtration process rather than fighting it.
Multiple filtration methods each have their place. My preferred method uses a two-stage process: first strain through a coarse mesh to remove most grounds, then use coffee filters for final clarification. This prevents the filters from clogging too quickly.
DIY filter options work surprisingly well if you're in a pinch. I've successfully used clean kitchen towels, paper towels (doubled up), and even clean t-shirt material. The key is multiple layers and patience.
Professional filter alternatives include nut milk bags, French press filters, or purpose-built cold brew filters. These work great but aren't necessary for excellent results. I only recommend them if you're making cold brew regularly.
Achieving clear versus cloudy cold brew depends on your filtering technique. Clear cold brew requires double filtration and patience – it can take 2-3 hours to fully filter a batch. Slightly cloudy cold brew still tastes great and filters much faster.
Common filtering problems include clogged filters, torn filters, and grounds escaping into finished brew. For clogged filters, stop filtering and let the setup sit for 30 minutes – gravity will help. Replace torn filters immediately, and always use double-layer filtration to prevent escapes.
Storage and Serving Your Mason Jar Cold Brew
Storage was something I totally underestimated when I started making cold brew. Proper storage techniques can extend your cold brew's freshness from a few days to nearly two weeks.
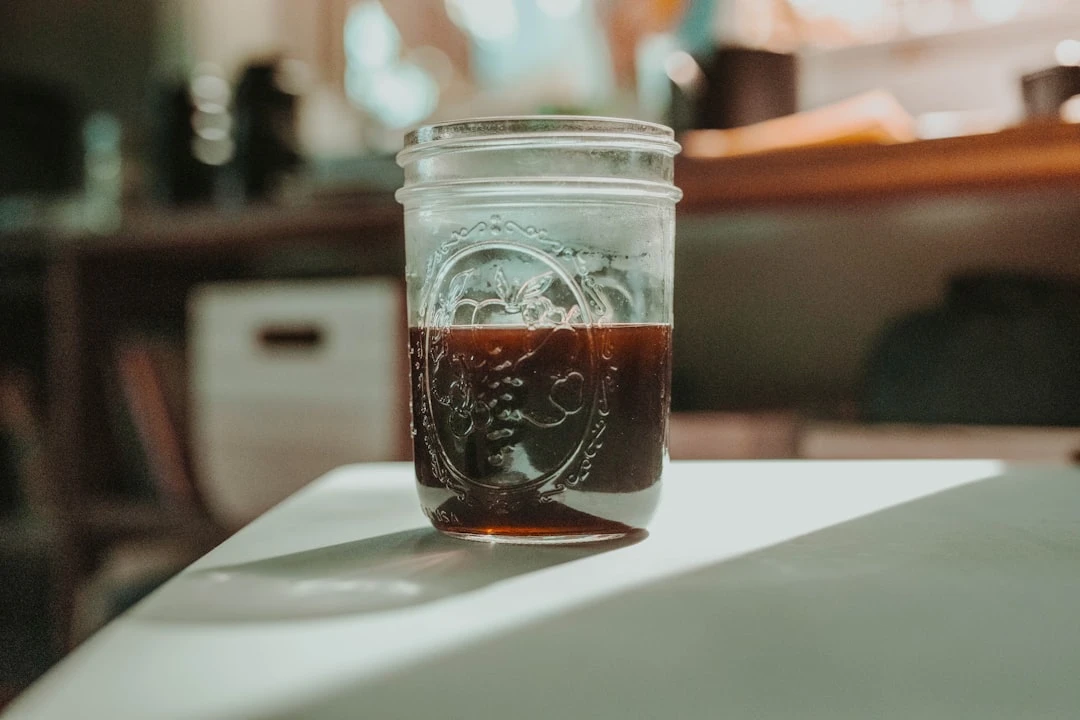
The key to maximum freshness is airtight storage in glass containers. I use mason jars for storage too because they seal well and don't absorb flavors. Plastic containers can leach chemicals and absorb coffee oils, affecting taste over time.
Shelf life in the refrigerator is typically 7-10 days for concentrate and 3-5 days for ready-to-drink cold brew. I always write the brew date on masking tape and stick it to the jar. Nothing's worse than finding mystery cold brew in your fridge and not knowing if it's still good.
The concentrate versus ready-to-drink decision affects both storage and serving. Concentrates last longer and give you flexibility in serving strength, but they require dilution. I usually make concentrate and dilute individual servings as needed.
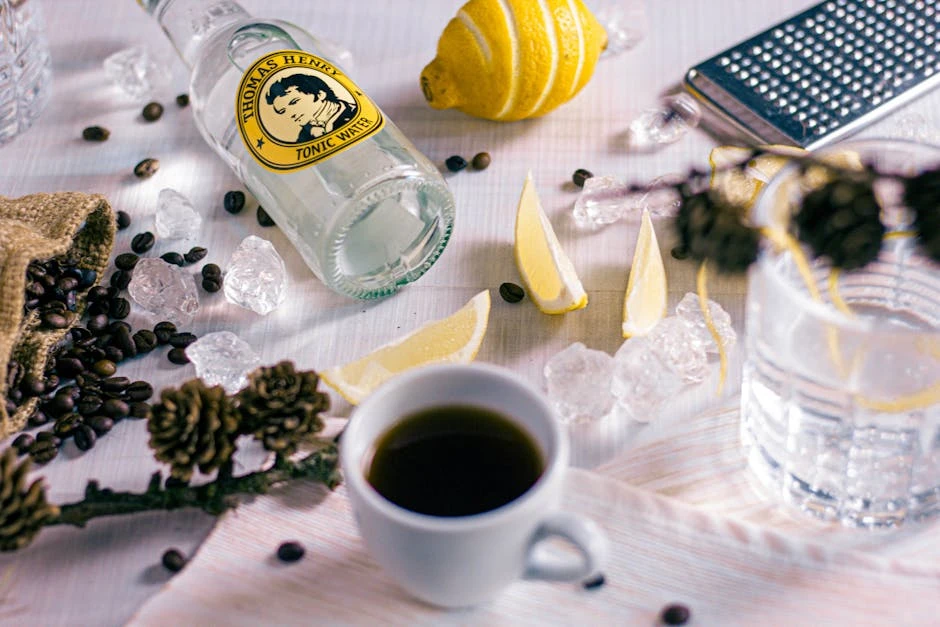
Serving suggestions are where you can get creative! I love my cold brew over ice with a splash of vanilla oat milk, but it's also great with regular milk, cream, or simple syrup. For hot weather, try it with coconut milk and a dash of cinnamon.
Cleaning your mason jar system properly prevents off-flavors and bacterial growth. I wash everything with hot, soapy water immediately after use, then air dry completely before storing. Never put away damp equipment – moisture breeds mold and bacteria.
Troubleshooting Common Mason Jar Cold Brew Issues
Every cold brew maker runs into problems, and I've probably made every mistake possible. Here's how to fix the most common issues without wasting coffee or starting over.
Bitter or over-extracted flavors usually mean your steeping time was too long or your grind was too fine. If your cold brew tastes harsh or unpleasantly strong, try diluting it more or reducing steeping time to 12-16 hours for your next batch.
Weak or under-extracted coffee is the opposite problem – not enough steeping time or too coarse of a grind. If your cold brew tastes weak or watery, try extending steeping time to 20-24 hours or using a slightly finer grind (but still coarse!).
Filtration problems are super frustrating but usually fixable. If grounds keep escaping into your finished brew, double up on filters or try a finer mesh strainer. If filtering takes forever, your grind might be too fine or you're trying to filter too much at once.
Preventing mold and bacterial growth is crucial for food safety. Always use clean equipment, store in the refrigerator, and trust your nose – if something smells off, throw it out. I've never had mold issues following proper storage procedures.
Equipment maintenance is minimal but important. Check your mason jar lids regularly for rust or damage, replace filters when they start tearing, and deep clean your strainer weekly if you're brewing regularly.
Cost Analysis: DIY vs Store-Bought Cold Brew Makers
Let's talk money because this is where DIY mason jar cold brew makers really shine. I've done the math on this more times than I care to admit.
Your total project cost should be under $15 for a complete setup. Compare that to commercial cold brew makers that range from $25-100+, and the savings are obvious. But the real savings come from not buying store-bought cold brew.
Long-term savings calculations get really interesting. If you're buying one $4 cold brew daily, that's $1,460 per year. Making your own costs about $0.50-75 per serving, saving you roughly $1,200 annually. That's a vacation fund right there!
Commercial cold brew maker comparisons show that while some fancy models have convenience features, they don't make significantly better cold brew than a well-designed mason jar system. You're often paying for marketing and brand names rather than better coffee.
Return on investment happens almost immediately. After just 4-6 store-bought cold brews, you've paid for your entire DIY setup. Everything after that is pure savings, and the system will last for years with proper care.
The value proposition becomes even better if you drink cold brew regularly. For occasional drinkers, buying store-bought might make sense, but for daily or weekly cold brew drinkers, DIY is a no-brainer financially.
Conclusion
Creating your own mason jar cold brew maker isn't just about saving money – though the $8-12 investment beats spending $4-6 daily on store-bought cold brew! It's about taking control of your coffee experience and discovering just how amazing home-brewed cold brew can taste.
Remember, the key to success is patience during that first 24-hour brew cycle and not being afraid to adjust your coffee-to-water ratios until you find your perfect strength. I've found that most people prefer a slightly stronger concentrate than they initially think they want.
Your mason jar cold brew maker will improve with use as you fine-tune your technique. Start with the basic setup I've outlined, then experiment with different beans, grind sizes, and steeping times to create your signature cold brew recipe.
Related Articles
Espresso vs Americano: What’s the Difference and Which Should You Choose?
Read More →
How to Make Perfect Decaf Cold Brew at Home
Read More →