The Ultimate Guide to Italian Espresso Cookies: Master the Art of Biscotti al Caffè Like a True Italian Baker
Introduction
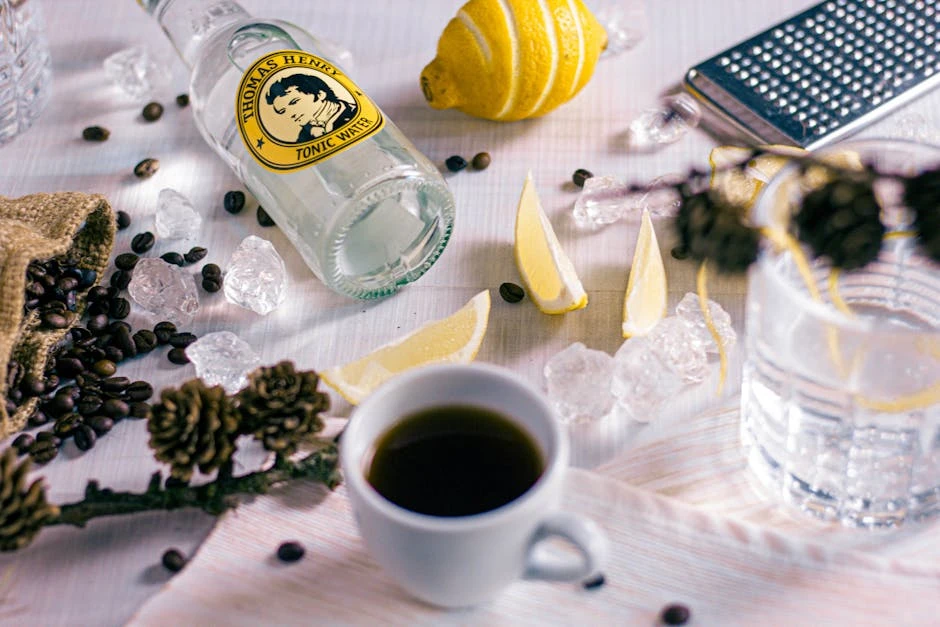
Picture this: you're sitting in a small café in Rome at 7 AM, and the barista slides a plate of golden, aromatic cookies across the marble counter alongside your morning espresso. The cookies smell like pure coffee heaven – that's the magic of authentic Italian espresso cookies, or as we call them, biscotti al caffè.
These aren't your average coffee-flavored cookies. No, these beauties pack an intense espresso punch that'll wake up every taste bud and transport you straight to the cobblestone streets of Italy. I've been making these cookies for over twenty years, starting in my nonna's kitchen in Tuscany, and I can tell you – there's nothing quite like the satisfaction of pulling a perfect batch from the oven.
The thing about Italian espresso cookies is that they're deceptively simple yet incredibly nuanced. Get the coffee-to-flour ratio wrong, and you'll end up with bland biscuits. Rush the second bake, and they'll crumble instead of achieving that perfect crisp snap. But master these techniques? You'll have people begging for your recipe!
Today, I'm sharing everything I've learned about crafting these incredible cookies – from the regional secrets passed down through generations to the modern techniques that ensure consistent results every single time.
The Rich History and Regional Soul of Italian Espresso Cookies
Espresso cookies have been gracing Italian tables since the late 1800s, right around the time espresso machines started appearing in cafés across the peninsula. But here's what most people don't realize – every region developed its own twist on these coffee-infused treats.
In Tuscany, where I learned to bake, we add a touch of orange zest to complement the espresso's intensity. It's subtle, mind you – just enough to brighten the deep coffee notes without overwhelming them. My nonna always said, "The orange should whisper, not shout." She was right, as usual.
Head north to Veneto, and you'll find bakers incorporating amaretto or sambuca into their dough. The alcohol cooks off during baking, leaving behind this incredible depth of flavor that makes the espresso taste even more robust. I tried this variation during a baking workshop in Padova, and honestly? It changed my whole perspective on what these cookies could be.
The Romans, practical as always, keep theirs simple but perfect – just flour, sugar, eggs, butter, and the strongest espresso you can brew. No frills, no fancy additions. Pure coffee perfection. Sometimes I think they've got it right with their minimalist approach.
What fascinates me most is how each family guards their specific recipe like a state secret. I once spent three months convincing an elderly baker in Sicily to share her technique for incorporating espresso powder versus liquid espresso. Her method – using both – creates layers of coffee flavor that hit you at different moments as you eat the cookie. Genius!
The traditional twice-baking method, borrowed from classic biscotti techniques, serves a crucial purpose beyond just achieving the right texture. That second bake concentrates the coffee flavors while creating the perfect crisp that holds up to dunking in your morning espresso without falling apart.
The Science Behind Perfect Espresso Cookie Ingredients
Let me tell you something that took me years to figure out – not all coffee is created equal when it comes to baking. The type of espresso you use will make or break your cookies, and I mean that literally.
Fresh espresso grounds are your best friend here. I'm talking beans that were roasted within the past two weeks, ground right before you start mixing your dough. Why? Because coffee loses its volatile oils quickly, and those oils carry the intense flavor compounds that make your cookies sing. Pre-ground coffee from the supermarket? It's already lost most of its soul.
Here's my secret weapon: I use a combination of finely ground espresso beans and instant espresso powder. The ground beans provide texture and those beautiful dark specks throughout the cookie, while the instant powder dissolves completely into the dough, creating an even coffee flavor base. Most home bakers only use one or the other, but trust me – the combination is magic.
The flour choice matters more than you'd think. Italian "00" flour creates the most authentic texture – it's finer than all-purpose flour, which gives the cookies that delicate, almost sandy texture that melts perfectly on your tongue. If you can't source 00 flour, use a blend of 75% all-purpose and 25% cake flour. It's not identical, but it's close enough to fool most Italian nonnas.
Sugar isn't just sweetness in these cookies – it's structure. I use a blend of granulated and brown sugar. The granulated sugar creates those lovely crisp edges and helps with the cookie's structure during the double-baking process. The brown sugar adds moisture and a subtle molasses note that plays beautifully with the coffee's natural bitterness.
Eggs are your binding agent, but here's what most recipes won't tell you: the temperature of your eggs matters enormously. Room temperature eggs incorporate much more easily into the dough, creating a smoother texture. Cold eggs can cause the butter to seize up, leading to a lumpy dough that never quite comes together properly.
Butter should be European-style if you can get it – the higher fat content creates richer cookies with better texture. It should be softened but not melted. I always do the finger test: if I can easily press my finger into the butter and leave a clear indentation without the butter sticking to my finger, it's perfect.
Mastering the Traditional Technique: Step-by-Step Perfection
The magic starts with your espresso preparation. I brew a double shot using beans that are just slightly over-extracted – we want that intense, almost bitter edge because it'll mellow during baking. Let this cool to room temperature while you prep your other ingredients. Hot espresso will scramble your eggs and melt your butter prematurely.
Creaming the butter and sugars is where patience pays off. This isn't a quick thirty-second whip – I'm talking about four to five minutes of steady beating until the mixture is light, fluffy, and has increased noticeably in volume. The mixture should look almost white and feel airy when you drag your spatula through it. This step incorporates air that helps create the cookie's final texture.
Adding eggs comes next, and here's where timing is everything. Add them one at a time, beating well after each addition. The mixture might look slightly curdled after the first egg – don't panic! This is normal. By the time you add the second egg and beat it in, everything should come together beautifully.
Now for the coffee integration – this is where most home bakers go wrong. Add your cooled espresso gradually, mixing on low speed. If you dump it all in at once, you risk breaking the emulsion you've worked so hard to create. The dough should smell intensely of coffee at this point. If it doesn't, your coffee wasn't strong enough.
The flour incorporation requires a gentle hand. I always sift my flour first – yes, even in 2025, sifting matters! Add it in three additions, mixing just until combined after each addition. Overmixing develops too much gluten, which creates tough, chewy cookies instead of the tender, crisp texture we're after.
Here's something I learned from a master baker in Bologna: let your dough rest for thirty minutes in the refrigerator before shaping. This allows the flour to fully hydrate and makes the dough much easier to handle. Skipping this step often leads to sticky, unmanageable dough that fights you every step of the way.
Shaping is an art form. I divide my dough into two portions and shape each into logs about 12 inches long and 2 inches wide. The key is keeping them evenly shaped – uneven logs lead to uneven cookies. I use a bench scraper to help maintain straight sides and sharp edges.
The first bake is crucial for structure. 325°F for exactly 25 minutes, no more, no less. The logs should be golden brown and spring back lightly when touched. They shouldn't be completely firm – they'll continue cooking during the cooling and second baking phases.
Cooling requires patience. Let those logs cool for at least 20 minutes before attempting to slice them. Hot logs will crumble and tear, ruining all your hard work. When they're cool enough to handle comfortably, use a sharp serrated knife to slice them diagonally into ½-inch thick pieces. A sawing motion works better than pressing down, which can compress and crack the cookies.
The second bake is where the magic happens. Arrange the slices cut-side down on parchment-lined baking sheets. 300°F for 10-12 minutes, flip them over, then another 10-12 minutes. They should be golden brown and completely crisp when done. Under-baked cookies will be chewy instead of crisp; over-baked cookies become bitter and hard as rocks.
Professional Troubleshooting: Solutions for Common Disasters
After two decades of making these cookies – and teaching countless others to make them – I've seen every possible mistake. Let me save you some heartache by sharing the most common problems and their solutions.
Cookies that crumble during slicing: This usually means your first bake wasn't long enough, or you tried to slice the logs while they were still too warm. The proteins need time to set properly. Next time, bake those logs until they spring back when lightly touched, then cool them completely before slicing.
Weak coffee flavor: Nine times out of ten, this is because the espresso wasn't strong enough to begin with, or it was old and stale. Remember, baking mellows flavors significantly, so you need to start with coffee that's almost aggressively strong. If you're tasting your cooled espresso and it's not making you wince slightly, it's not strong enough for baking.
Cookies spreading too much during baking: Your butter was too warm, or your dough needed more chilling time. Butter should be soft but not greasy. If you can see it starting to melt or if it feels oily, pop your dough in the fridge for an hour before shaping.
Tough, chewy texture: You overmixed the flour, developed too much gluten, or your oven temperature was too low. Mix flour just until combined – you should still see a few streaks when you stop mixing. They'll disappear as you finish incorporating.
Cookies that break when you try to dunk them: The second bake wasn't long enough. These cookies should be crisp all the way through, not soft in the center. When properly baked, they'll hold up to a good dunk in your espresso without falling apart.
Bitter aftertaste: You either over-extracted your espresso or over-baked the cookies during the second bake. Coffee becomes bitter when over-extracted, and this bitterness concentrates during baking. Aim for a strong but smooth espresso, not a harsh, over-extracted one.
Here's a pro tip that's saved many batches: if your cookies turn out less than perfect, don't throw them away! Crumbly ones make incredible ice cream mix-ins or can be ground up for tiramisu. Slightly under-baked ones are perfect for dunking in gelato. Over-baked ones can be crushed and used as a crunchy topping for desserts.
Equipment That Makes the Difference
You don't need a professional bakery to make incredible espresso cookies, but having the right tools makes everything easier and more consistent. Let me walk you through what's worth investing in versus what you can improvise.
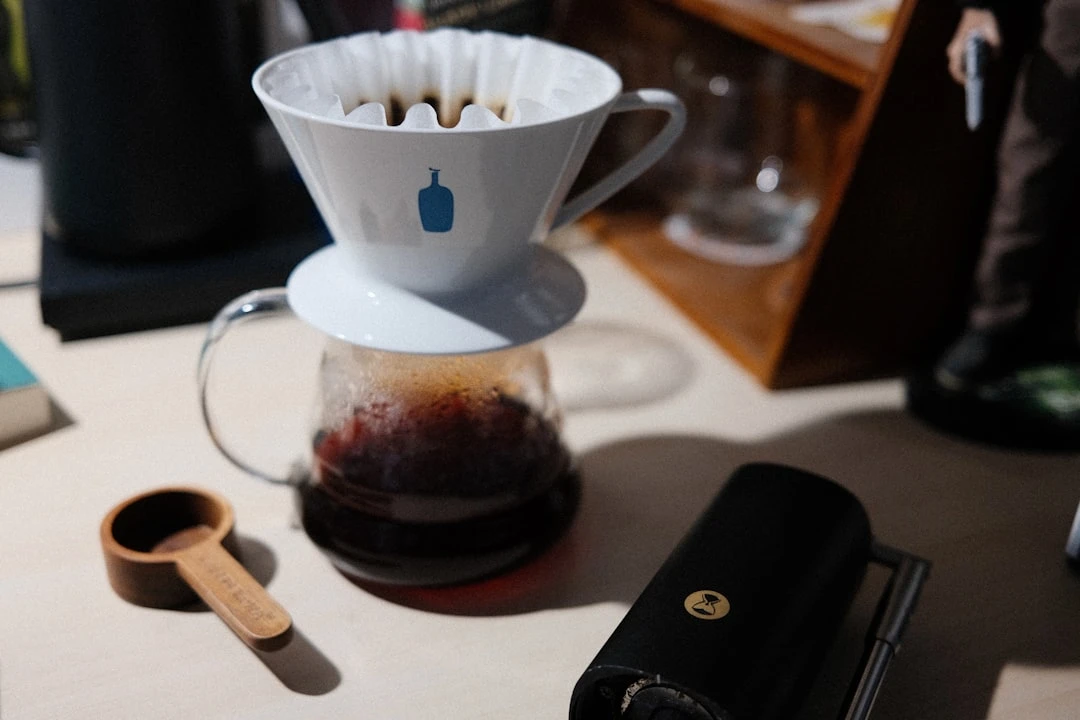
Espresso machine or Moka pot: This is non-negotiable. You need to be able to brew proper, strong espresso. A Moka pot is perfectly acceptable if you don't have an espresso machine – in fact, many Italian home bakers prefer Moka pot coffee for baking because it's slightly less acidic than machine espresso.
Kitchen scale: Please, please invest in a digital kitchen scale. Baking by weight instead of volume makes an enormous difference in consistency. Flour can vary by 30% in weight depending on how it's measured, and that variation will absolutely affect your final product.
Stand mixer: While you can make these cookies by hand, a stand mixer makes the creaming process so much easier and more thorough. The paddle attachment is your friend here – don't use the whisk, which incorporates too much air.
Bench scraper: This $5 tool is a game-changer for shaping uniform logs and transferring dough cleanly. I use mine constantly, not just for cookies but for all my baking projects.
Sharp serrated knife: Essential for clean slicing. A dull knife will compress and tear your cookies. I keep a dedicated bread knife just for slicing biscotti and similar cookies.
Parchment paper: Not wax paper, not silicone mats – parchment paper. It provides the right amount of insulation and prevents sticking without affecting browning. I buy it in restaurant-sized rolls because I use so much of it.
Cooling racks: Proper air circulation during cooling prevents soggy bottoms and ensures even cooling. If you don't have racks, you can improvise by turning a clean baking sheet upside down and placing your cookies on top.
One piece of equipment I don't recommend? Those fancy cookie presses or specialty biscotti pans. Hand-shaping creates more authentic, rustic-looking cookies, and the slight irregularities actually improve the final texture.
Storage Secrets and Serving Perfection
Proper storage can make the difference between cookies that stay crisp for weeks and cookies that go stale in days. These cookies are incredibly forgiving when stored correctly, which is part of what makes them so perfect for gift-giving or batch preparation.
The key is keeping them completely dry. I store mine in airtight containers with tight-fitting lids, but here's my secret weapon: I add a small piece of parchment paper between layers and toss in a food-safe silica gel packet. You can buy these online, and they keep everything perfectly crisp.
Never store espresso cookies with other baked goods. They'll absorb moisture from softer cookies and lose their crispness. They also have such an intense coffee flavor that they can make other cookies taste like coffee, which isn't always desirable.
For longer storage, these cookies freeze beautifully. Wrap them individually in plastic wrap, then store in freezer bags for up to three months. Thaw them at room temperature for about 30 minutes before serving – they'll taste like you just baked them.
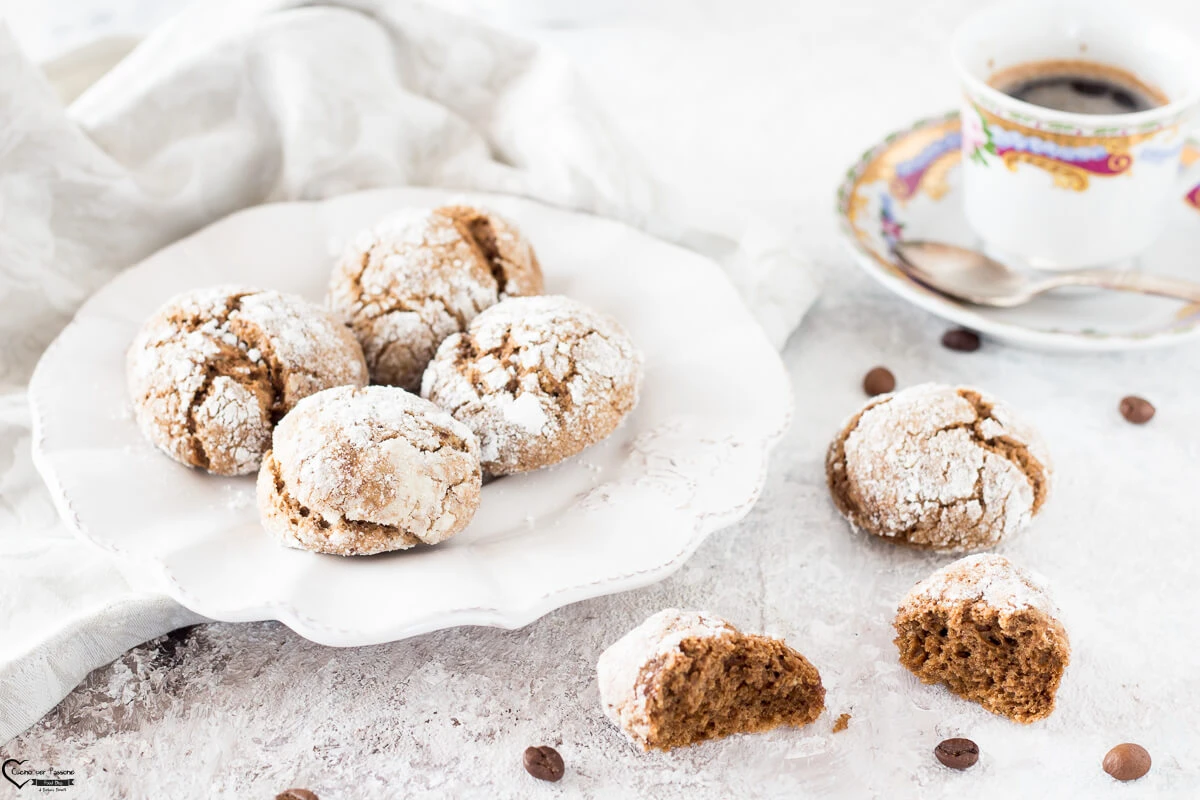
Serving is where you can really show off. The traditional Italian way is alongside morning espresso for dunking, but I love them with afternoon coffee or even as a dessert cookie with gelato. They pair beautifully with vanilla or coffee-flavored gelato – the temperature contrast is incredible.
For entertaining, I sometimes dust them lightly with powdered sugar just before serving, or drizzle them with melted dark chocolate. A light sprinkle of coarse sea salt can highlight the coffee flavors beautifully, too.
Seasonal Variations and Family Traditions
One of the things I love most about these cookies is how adaptable they are to seasonal ingredients and family preferences. Over the years, I've developed several variations that have become family favorites.
Winter variation: During the holidays, I add a pinch of cinnamon and a whisper of cardamom to the dough. The warm spices complement the coffee beautifully and make the whole house smell like Christmas morning.
Spring variation: Orange zest is traditional in my family, but I've also experimented with lemon zest for a brighter note. Just the zest from one medium citrus fruit is plenty – you want to enhance, not overpower, the coffee flavor.
Summer variation: This might sound unusual, but a tiny amount of lavender creates the most incredible floral note that pairs surprisingly well with espresso. Use culinary lavender and be very sparing – a quarter teaspoon is plenty for a full batch.
Autumn variation: Chopped toasted hazelnuts or almonds add wonderful texture and a nutty flavor that's perfect with coffee. Toast the nuts yourself for the best flavor – it only takes a few minutes in a dry skillet.
Family traditions around these cookies are sacred in Italian households. In my family, making the first batch of espresso cookies signals the start of the holiday baking season. We always make extra because they're perfect for unexpected guests – a very Italian tradition.
Some families add a shot of liqueur to their dough – amaretto, sambuca, or even grappa. The alcohol bakes off, leaving behind complex flavors that make the cookies more sophisticated. Start with just a tablespoon and adjust to taste in future batches.
Conclusion
Making authentic Italian espresso cookies is about more than just following a recipe – it's about understanding the why behind each step and developing the confidence to trust your senses. The smell of the dough, the feel of properly creamed butter, the sound of a correctly mixed batter – these sensory cues become second nature with practice.
Remember, even experienced bakers have off days. I still occasionally overbake a batch or forget to let my dough rest properly. The difference is that I've learned to recognize what went wrong and adjust accordingly. Don't be discouraged if your first batch isn't perfect – mine certainly wasn't!
The most important thing is to start with quality ingredients and take your time with each step. These cookies reward patience and attention to detail. Rush the process, and you'll taste the difference. Take your time, and you'll create something truly special.
Whether you're making these for your morning coffee ritual, as gifts for coffee-loving friends, or to carry on a family tradition, remember that you're participating in a centuries-old Italian baking tradition. Every time you brew that strong espresso, cream the butter and sugar, and shape those logs, you're connecting with generations of Italian bakers who understood that good coffee deserves a perfect cookie companion.