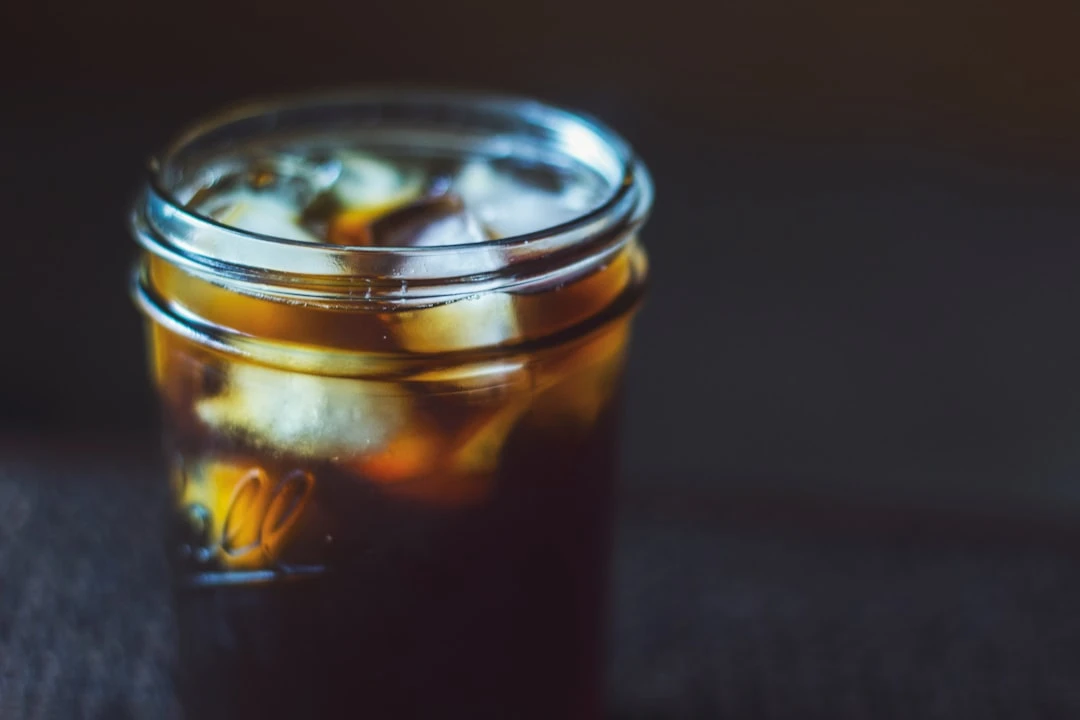
How to Filter Cold Brew Coffee: The Ultimate Guide to Crystal Clear Cold Brew
Did you know that 73% of cold brew failures come down to one simple mistake – improper filtering? I learned this the hard way after drinking what felt like liquid sandpaper for weeks when I first started making cold brew at home.
There's nothing worse than taking that first anticipated sip of your homemade cold brew only to get a mouthful of coffee grounds. Trust me, I've been there more times than I care to admit! The importance of proper filtering can't be overstated – it's literally the difference between professional-quality cold brew and something that belongs in the trash.
Getting your filtering technique right isn't just about taste, though that's obviously huge. Proper filtering also affects the shelf life of your cold brew, its appearance, and even how well it mixes with milk or cream. After years of trial and error (and way too many gritty cups), I've finally cracked the code on getting that perfectly smooth, sediment-free cold brew every single time.
Understanding Cold Brew Filtering Basics
Why Cold Brew Filtering is Different from Hot Coffee
Cold brew presents unique filtering challenges that caught me completely off guard when I first started. Unlike hot coffee where the grounds settle differently, cold brew grounds create this almost paste-like consistency that regular coffee filters just can't handle properly.
I remember my first attempt – I used a standard paper coffee filter thinking it would work the same way. Big mistake! The filter clogged immediately, and what little liquid made it through took literally hours. The whole process was so frustrating that I almost gave up on homemade cold brew entirely.
The key difference is particle size and extraction time. Hot brewing extracts quickly and the grounds behave predictably. Cold brew, on the other hand, creates finer particles and a thicker concentrate that needs specialized filtering approaches. Understanding this fundamental difference changed everything for me.
The Science Behind Proper Cold Brew Filtration
Here's something I wish someone had told me earlier – cold brew filtering is actually about removing different types of particles at different stages. You've got your larger grounds, medium-sized particles, and those super fine sediments that make your coffee taste gritty.
Most people try to do it all in one step, but that's where they go wrong. I learned through countless messy kitchen disasters that effective cold brew filtering happens in stages. First, you strain out the big stuff, then you tackle the medium particles, and finally you polish it with fine filtration.
The temperature factor also plays a huge role. Cold liquid moves differently through filters than hot liquid, which means you need more patience and different techniques. This isn't something you can rush – and believe me, I tried!
Essential Equipment for Filtering Cold Brew
Must-Have Filtering Tools
After trying practically every filtering method known to humanity, here's what actually works. You don't need to break the bank, but having the right tools makes all the difference between success and that gritty disappointment I know too well.
A good mesh strainer is absolutely essential – I use a fine-mesh stainless steel one that I picked up for about fifteen bucks. Don't go too cheap here because flimsy strainers will bend and create gaps that let grounds through. I learned this lesson when my cheap strainer practically folded in half during my first big batch.
Cheesecloth or nut milk bags are game-changers for the secondary filtering stage. I used to think this was overkill until I tried it. The difference in clarity is incredible! Just make sure you get multiple layers – single-layer cheesecloth is basically useless for cold brew.
Paper Filters vs. Metal Filters vs. Cloth Filters
This is where things get interesting, and honestly, where I made most of my early mistakes. Each type of filter serves a different purpose, and using them wrong will mess up your entire batch.
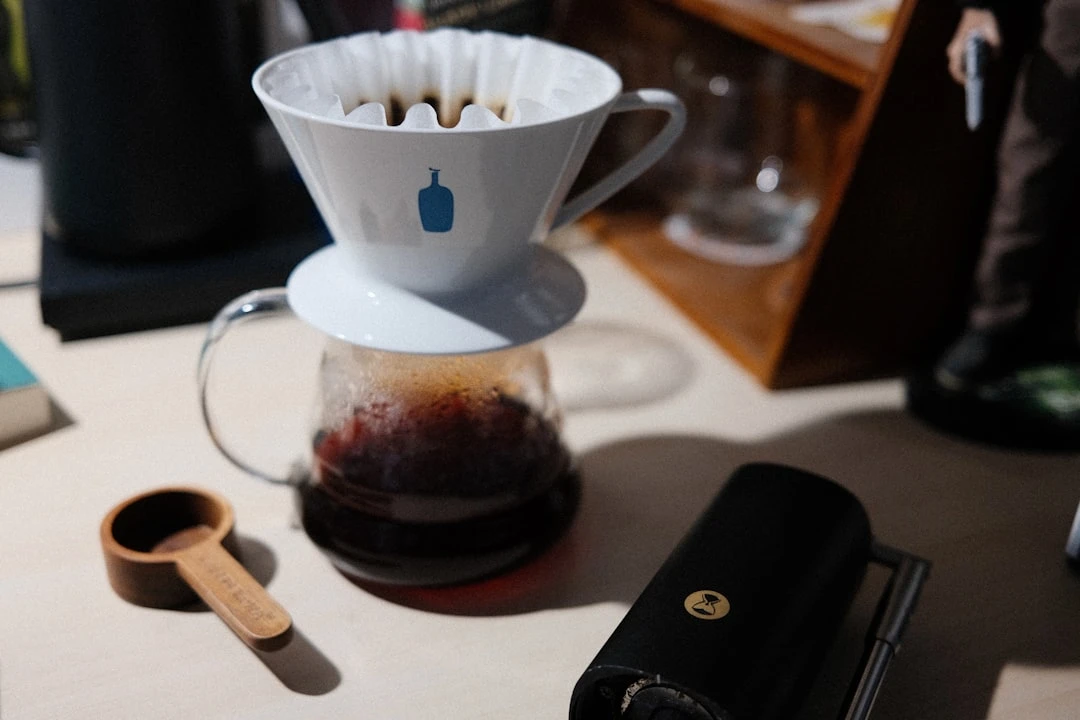
Paper filters are great for final polishing, but they're terrible as primary filters for cold brew. I can't tell you how many times I've watched paper filters clog and overflow, creating a massive mess on my counter. Use them last, not first!
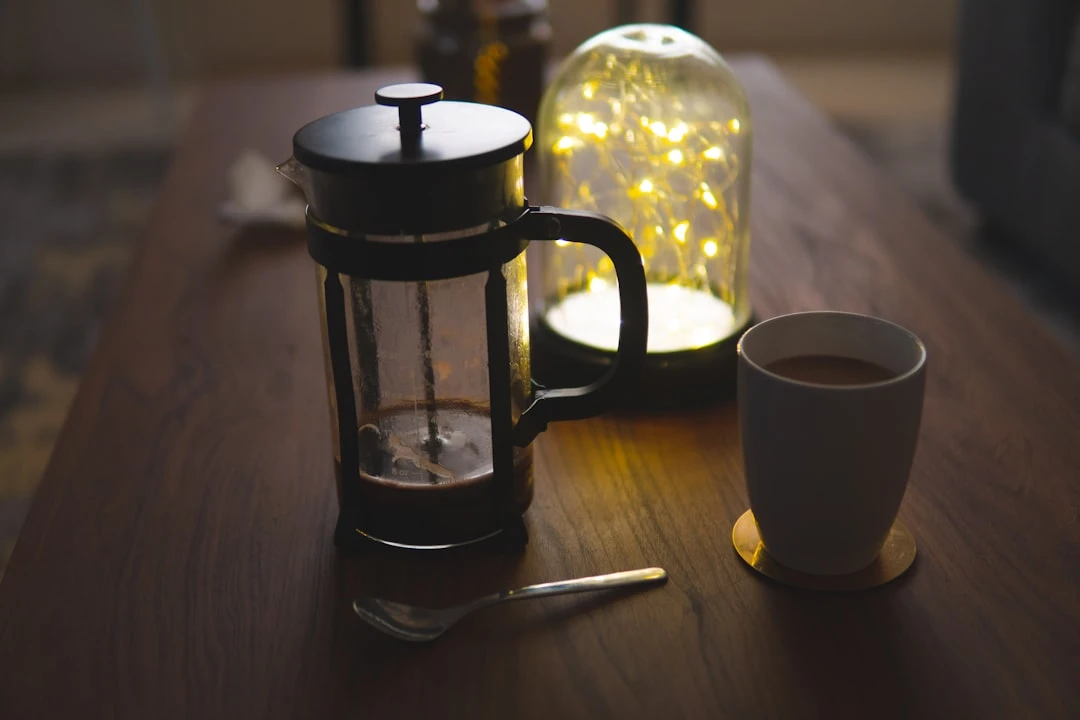
Metal filters work best for initial straining. They handle the thick cold brew concentrate without clogging, and they're reusable which is nice for your wallet. The downside is they let through more fine particles, so you'll need additional filtering steps.
Cloth filters are the sweet spot for many cold brew enthusiasts. They catch more particles than metal but don't clog like paper. I use a dedicated cold brew sock that I wash and reuse. Just remember – these need proper cleaning or they'll develop off-flavors that'll ruin your coffee.
Step-by-Step Cold Brew Filtering Process
Initial Coarse Straining
This first step is crucial and it's where most people rush and mess things up. After your cold brew has steeped for 12-24 hours, you need to separate the liquid from the grounds without creating a muddy disaster.
I always start with my largest mesh strainer over a large bowl. Pour slowly – and I mean slowly! The first time I tried this, I dumped everything in at once and coffee grounds splashed everywhere. My kitchen looked like a coffee bomb had exploded, and I lost half my batch to the mess.
Don't press or squeeze the grounds at this stage. Just let gravity do its work. Yeah, it takes longer, but pressing forces fine particles through the strainer and you'll end up with cloudy, gritty cold brew. Patience here saves you headaches later.
Secondary Fine Filtering
Once you've got most of the liquid separated, it's time for the real magic. This is where you transform that cloudy, particle-filled liquid into something that actually looks like professional cold brew.
I line my fine-mesh strainer with two layers of cheesecloth or use my nut milk bag. The key is to go slow again – rushing this step undoes all your previous work. I usually let this stage take about 30 minutes for a full batch. Sometimes I walk away and do other things because watching it drip is like watching paint dry.
Here's a pro tip I learned the hard way – don't fill your secondary filter too full. I used to try to process my entire batch at once, but the weight of all that liquid would push particles through the cloth. Now I do smaller portions and the results are so much better.
Final Polishing Techniques
This final step separates amateur cold brew from the professional stuff. Even after your secondary filtering, there are still microscopic particles that can make your cold brew taste muddy or create sediment over time.
For this final polish, I use coffee filters – but not the way most people think. Instead of trying to pour through them (which never works), I use a slow-drip method. I put a coffee filter in a fine strainer and add the cold brew in small amounts, letting it drip through naturally.
Another technique that works amazingly well is the settling method. After your secondary filtering, let your cold brew sit in the fridge for a few hours. Any remaining particles will settle to the bottom, and you can carefully decant the clear liquid from the top. This was a game-changer for me when I discovered it by accident!
Common Filtering Mistakes to Avoid
Over-Filtering and Under-Filtering
Finding the right balance took me way longer than it should have. Over-filtering strips away flavor compounds that make cold brew special, while under-filtering leaves you with that gritty texture nobody wants.
I went through a phase where I was obsessed with getting perfectly clear cold brew. I would filter and re-filter until the liquid was crystal clear, but it tasted like nothing! All the body and richness was gone. Cold brew should have some character – it doesn't need to be as clear as water.
On the flip side, I've also gotten lazy and skipped filtering steps, thinking "eh, it's probably fine." It never is! Those seemingly minor particles multiply the grittiness factor exponentially. Trust me, do all the steps even when you're tired or in a hurry.
Equipment Maintenance Issues
This is probably the most overlooked aspect of cold brew filtering, and it cost me several batches before I figured it out. Dirty or improperly maintained filtering equipment will ruin even the best cold brew.
Cloth filters and strainers need to be cleaned immediately after use. I learned this when I left my nut milk bag sitting with coffee residue for a day – it developed this funky smell that transferred to my next batch. Now I rinse everything immediately and deep clean weekly.
Metal strainers can develop micro-clogs that aren't visible but slow down filtering dramatically. I thought my strainer was broken until I soaked it in hot soapy water and scrubbed it with a brush. Suddenly it was working like new again!
Troubleshooting Cloudy or Gritty Cold Brew
Identifying the Problem
When your cold brew turns out less than perfect, it's usually pretty obvious where things went wrong. Cloudiness typically means you rushed the filtering process or used inadequate filtering methods. Grittiness almost always comes from skipping steps or using worn-out equipment.
I keep a coffee journal (yes, I'm that nerdy) where I track what went wrong with each batch. This helped me identify patterns – like how humid weather affects filtering speed, or how certain coffee beans create more fine particles than others.
The most common issue I see is people trying to filter too much cold brew at once. Your filtering setup has limits, and exceeding them guarantees poor results. It's better to do smaller batches and get great results than to try to do everything at once and end up with mediocre coffee.
Quick Fixes for Imperfect Batches
Sometimes despite your best efforts, a batch doesn't turn out perfect. Don't dump it! I've salvaged plenty of less-than-ideal cold brew with some clever techniques.
For cloudy cold brew, try the settling method I mentioned earlier. Put it in the fridge for several hours, then carefully pour off the clear liquid from the top. You'll lose some volume, but what's left will be much cleaner.
For gritty cold brew, you can try re-filtering through fresh equipment. It's not ideal and you'll lose some flavor, but it's better than throwing the whole batch away. I once saved a weekend batch this way when I had guests coming and no time to start over.
Pro Tips for Perfect Cold Brew Filtering
After years of making cold brew mistakes, I've developed some techniques that consistently deliver professional results. These aren't things you'll find in most guides, but they make a huge difference.
Temperature matters more than most people realize. I let my cold brew come to room temperature before final filtering – it moves through filters much more easily and gives cleaner results. Cold liquid is thicker and more likely to clog your filters.
Patience is your best friend in cold brew filtering. I used to try to speed up the process by pressing or squeezing, but that always backfired. Now I set up my filtering station and walk away. Good cold brew filtering can't be rushed.
Pre-wetting your filters makes everything work better. I learned this from wine-making forums (don't ask how I ended up there). A quick rinse with cold water before you start filtering prevents initial clogging and gives more consistent results.
Conclusion
Proper cold brew filtering is the difference between coffee shop quality and disappointing homemade attempts. The techniques I've shared here come from years of trial and error, countless messy kitchens, and way too many gritty cups of coffee.
Remember, great cold brew filtering is about patience and proper technique, not expensive equipment. Start with the basics, master each step, and don't try to rush the process. Your taste buds (and your guests) will thank you.
The most important thing is to customize these techniques based on your setup and preferences. Maybe you prefer a slightly cloudier cold brew with more body, or perhaps crystal-clear is your goal. Adjust the filtering intensity accordingly, but always prioritize safety and cleanliness in your process.
Related Articles